
Perfecting Neapolitan pizza dough is a multi-dimensional challenge. The ingredients are straightforward enough – flour, salt, water and yeast. Of course, you have to have the RIGHT flour, salt, water and yeast (quality, type etc.) but that’s basically it. From then it’s about process, timings, temperatures and ratios. Process can be refined and standardised fairly easily, but the timings (for bulk fermenting, second fermenting, maturing, cooking !), temperatures (for fermenting and for the cooking itself) and ratios (hydration, yeast) are what need to be played around with. The time needed to cook a pizza at 900F will be different to one cooked at 500F, pretty obviously…but this will have an effect on optimum hydration too (the ratio of water to flour). All of that will be dependent on the time and temperature used for the fermenting/rising. And all of THAT is dependent on the type and amount of yeast that’s used ! So many permutations…
There’s a recipe at the bottom of the post, but if you want to get to the video for a quick overview of the process, then here it is. Or rather, here they are. For a bit of fun and simplicity I split it into two : What to do in Day 1, and what to do in Day 2.
Anyway, these permutations. It’s no surprise that there are so many books and Internet opinions on this topic, and more people who swear they have it nailed. From what I’ve discovered, the key thing to work out first is the temperature at which the pizza will be cooked. I have three methods I’ve worked with to date, and I’m about to experiment with a fourth. I’m considering a fifth as the ultimate solution (naturally 🙂 !).
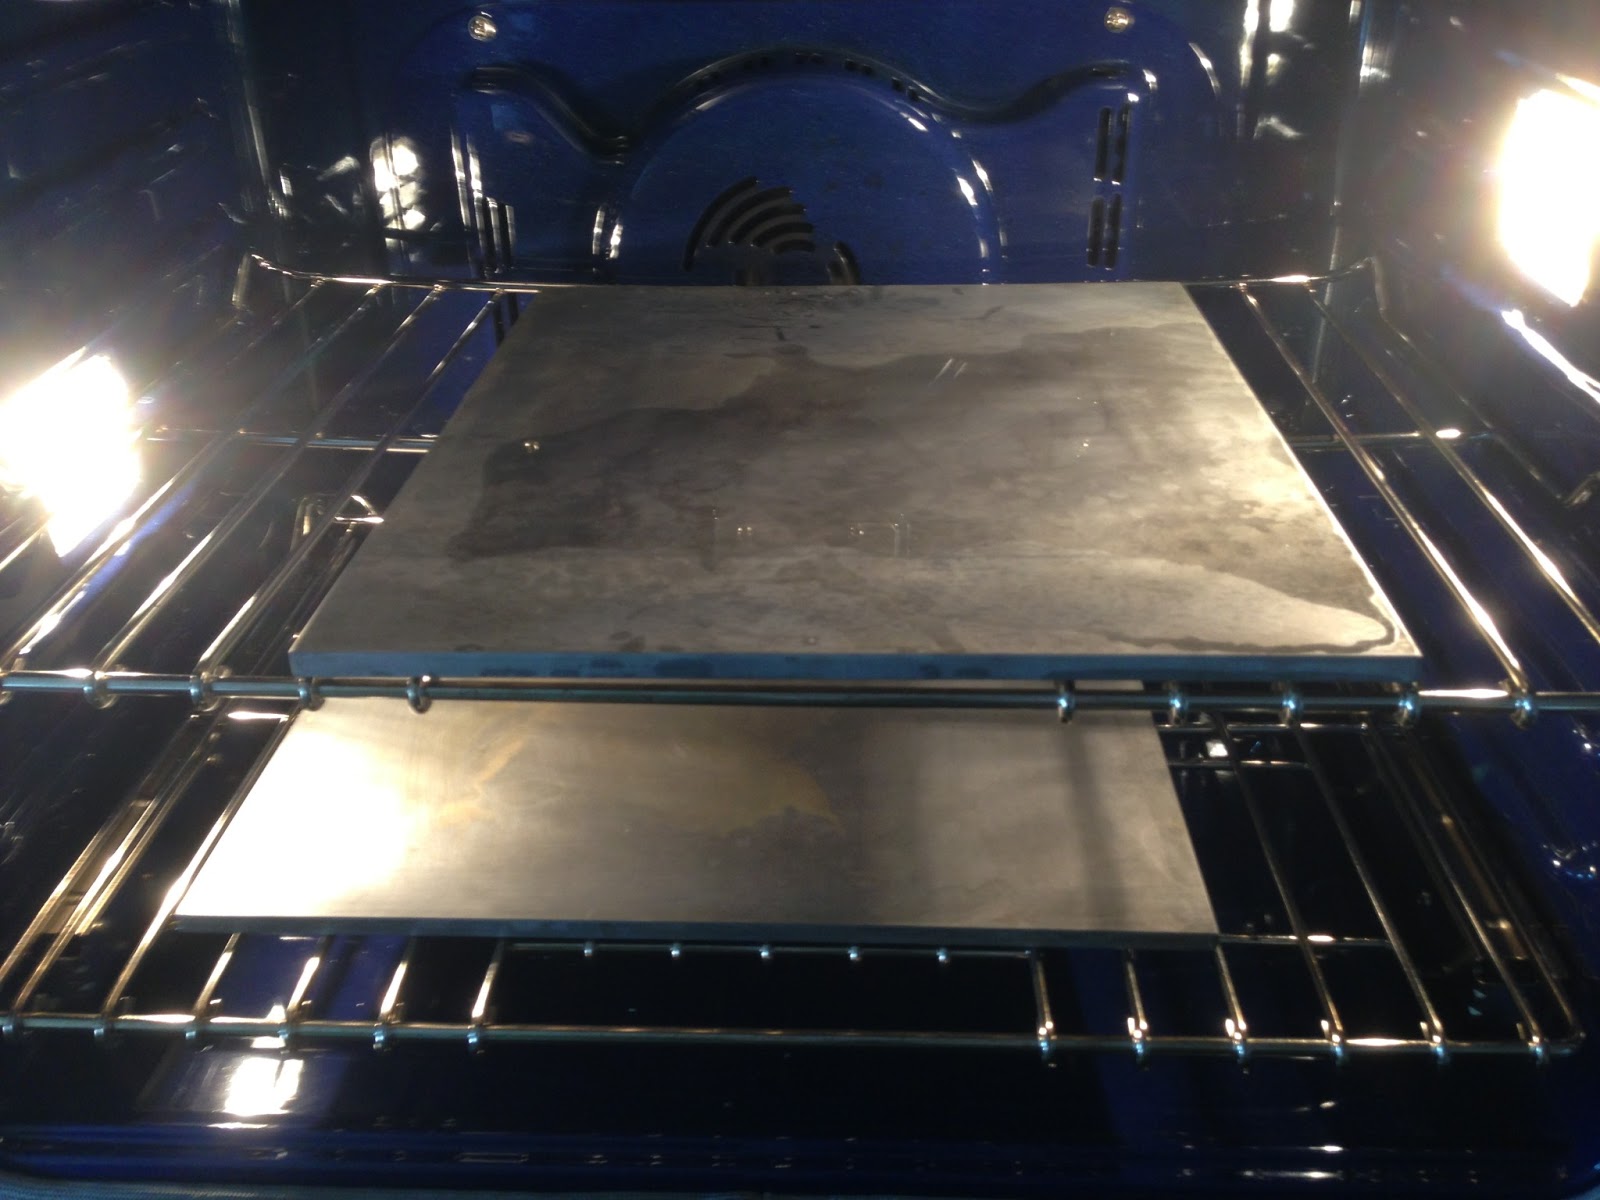
- Method 1 is the 500-550F cook in a regular oven, using a pizza stone, or actually and preferably a “Baking Steel“. This is basically a heavy steel disk which is pre-heated to the same heat as the oven and used as the base for the pizza.
- Method 2 is a 550-650F cook in a Kamado Joe (Classic or Big Joe) using either the Baking Steel or one of the pizza stones. The steel is lifted off the Kamado heat deflectors so an air gap forms. This has been the standard method for most Kamado Joe users for some time, unless you have access to Method 3…
- Method 3 is to cook at 550F-650F with a Kamado Joe DoJoe attachment which converts the Kamado Joe into a “front loading” pizza oven.
- Method 4 takes us back into the kitchen with TWO Baking Steels – one at the top, and one a few inches below with the pizza slotted in between. No idea how that will work out, but the Baking Steel boys are as keen as I am to find out.
- Method 5 is a dedicated pizza oven which cooks at 900F ! There’s a favourite at the moment from British company Gozney who make something called a Roccbox. That might be the next big gadget purchase…

1. Single Baking Steel 2. Kamado Joe Standard Configuration 3. The KJ DoJoe 4. Unproven “two steels” 5. The next gadget ?
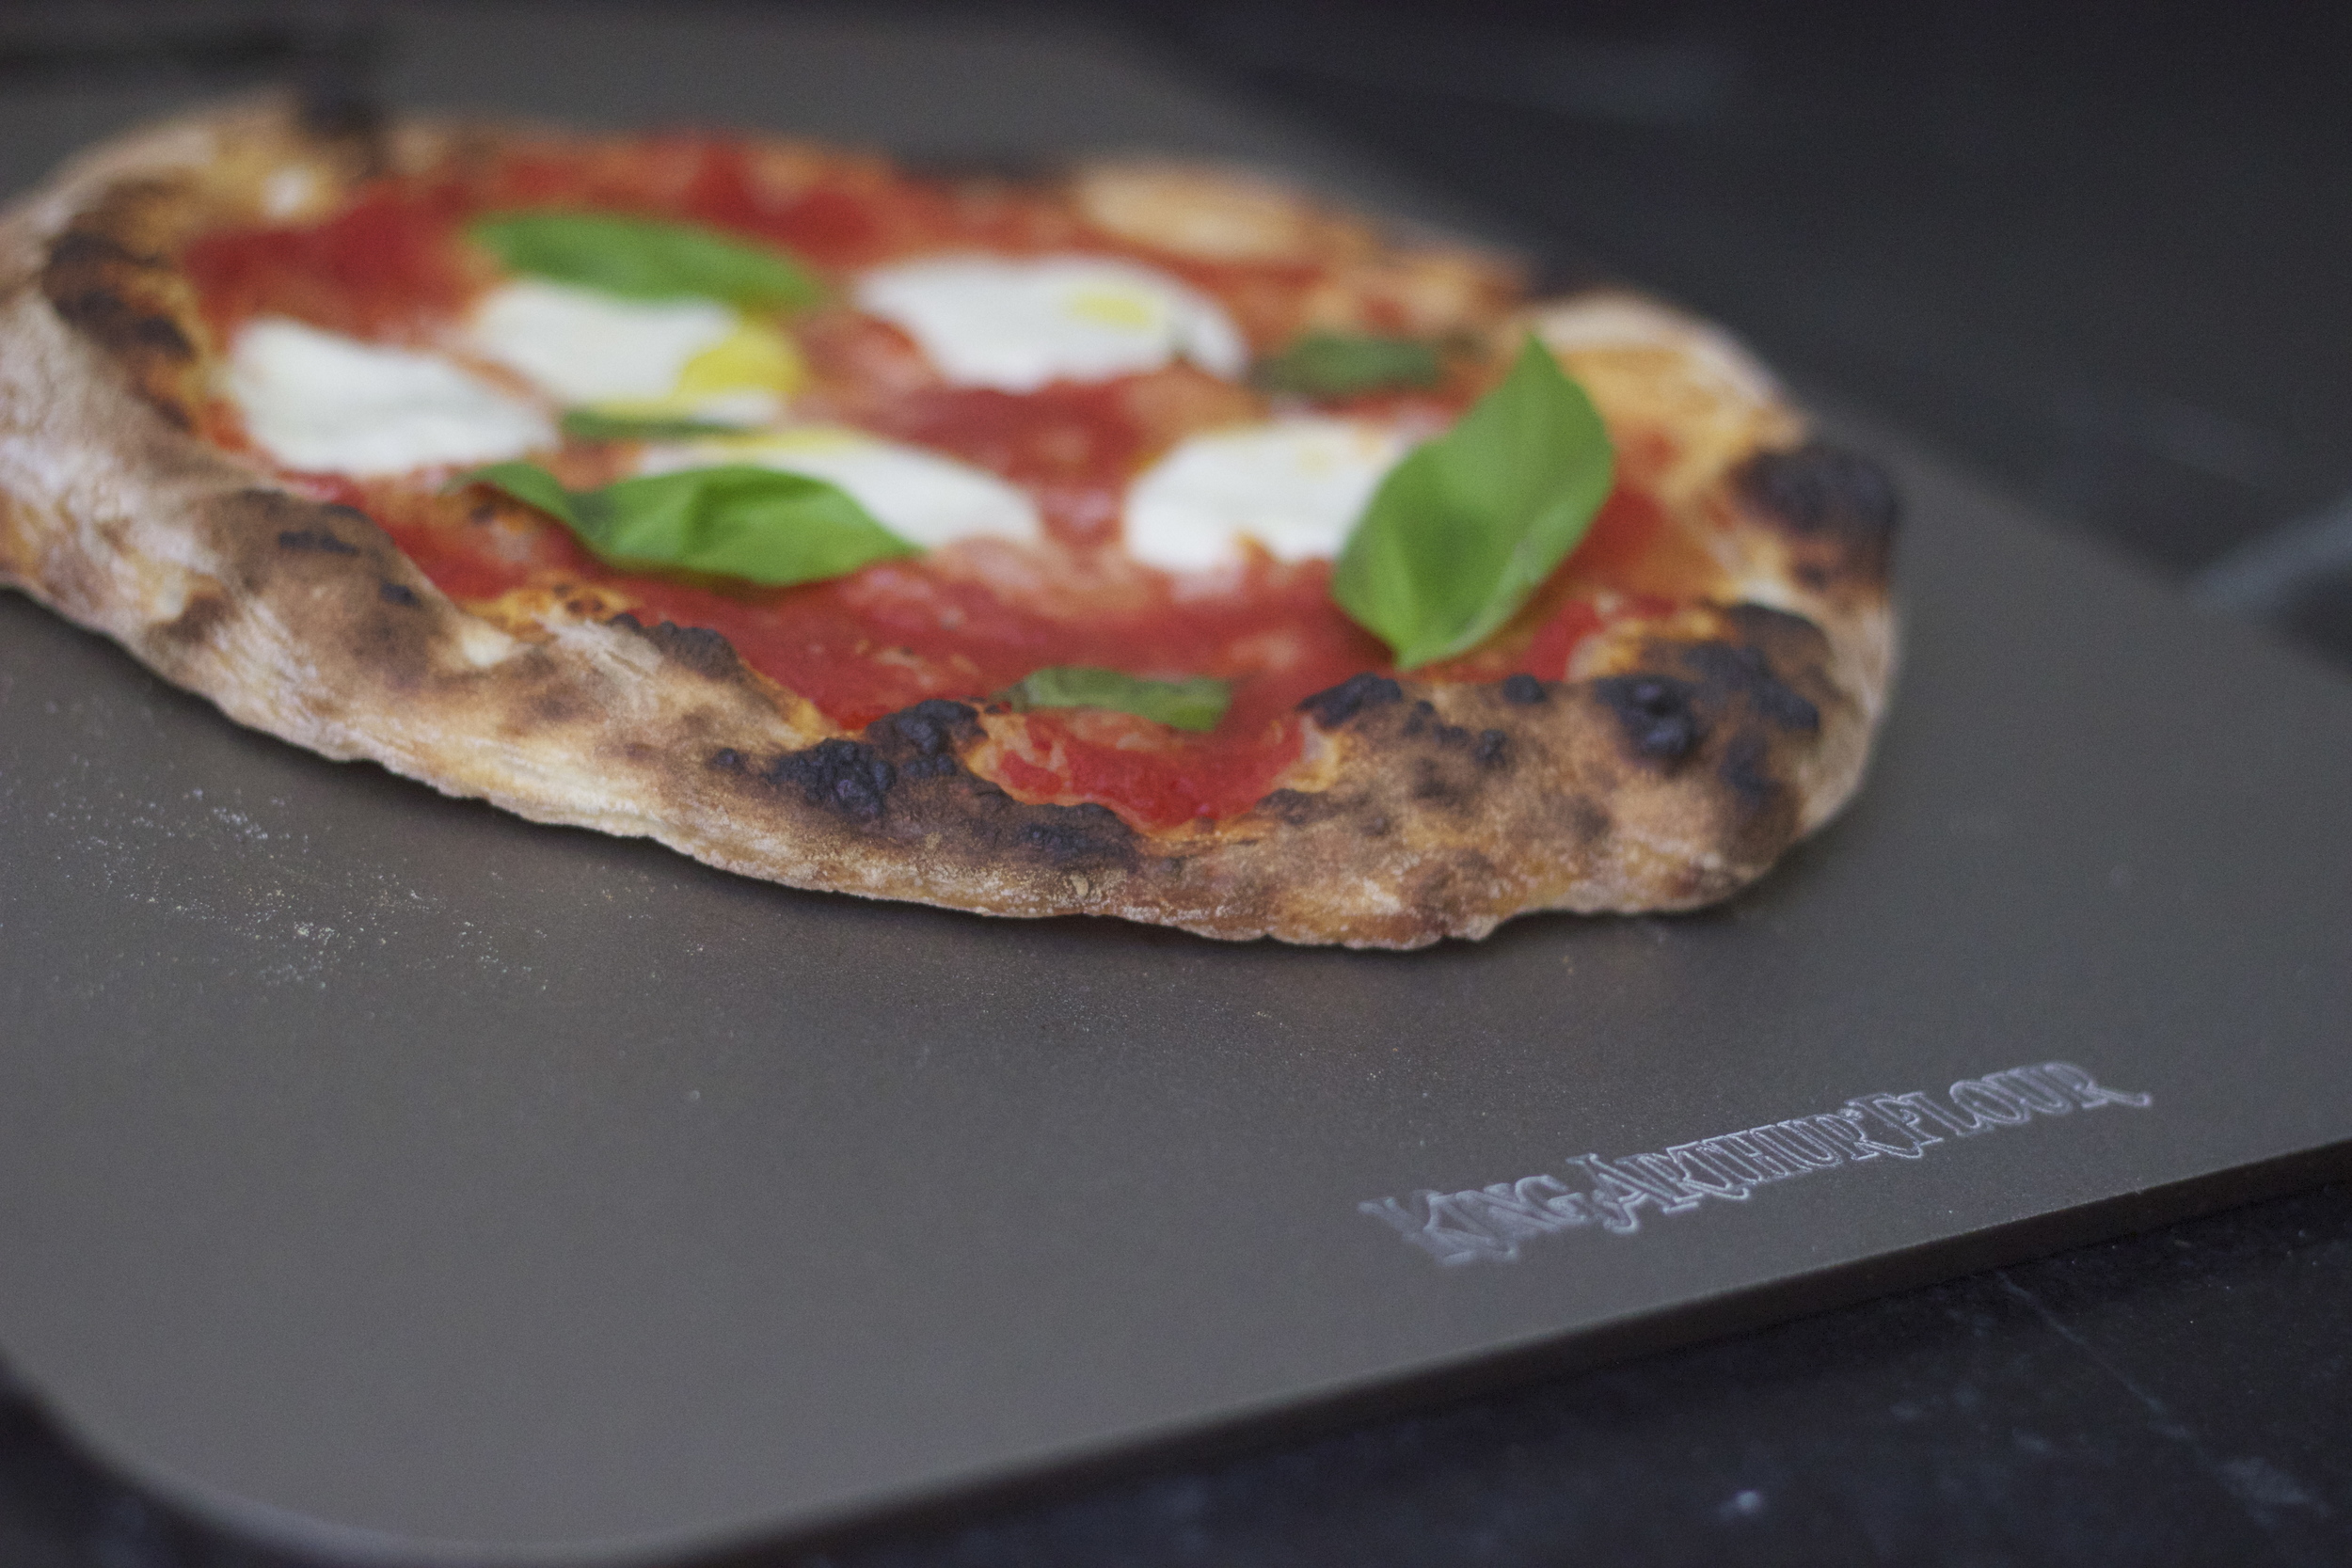


The first four methods cook in the 500F-650F range, and the sum of my research told me that at that relatively low temperature (which would require a longer cook time) then the dough would benefit from a higher hydration. In this recipe it’s 68% hydration (i.e. 68% ratio of water to flour). Opinions range from 55% to 70%…again, based on temperature of oven for the most part. Opinions on Method 5 seem to be consistent at that 65-70% range too, so this dough recipe should work for that also.
Additionally, a longer total fermentation to 72 hours (24 hours room temperature “bulk ferment” followed by 48 hour refrigerated “cold ferment”) means less yeast is needed. Indeed, the minuscule amounts of yeast actually needed for these long ferments is surprising. In this case I’m using 0.01% (percentage of yeast to flour). There are recipes out there with a much higher % yeast, but they tend to be for “last minute dough” – good for convenience. You can research dough fermentation for days on the Internet also. Suffice to say, a cold fermentation is like a “low and slow” cook – the lower temperature dough/yeast does its thing at a slower pace and allows the texture and flavour to develop. A room temperature ferment goes somewhat faster and so doesn’t allow the dough to mature as much. There are also opinions out there that 72 hours total fermentation adds nothing, and that the work is really at its peak in 24 hours. More scope for opinion and experimentation.
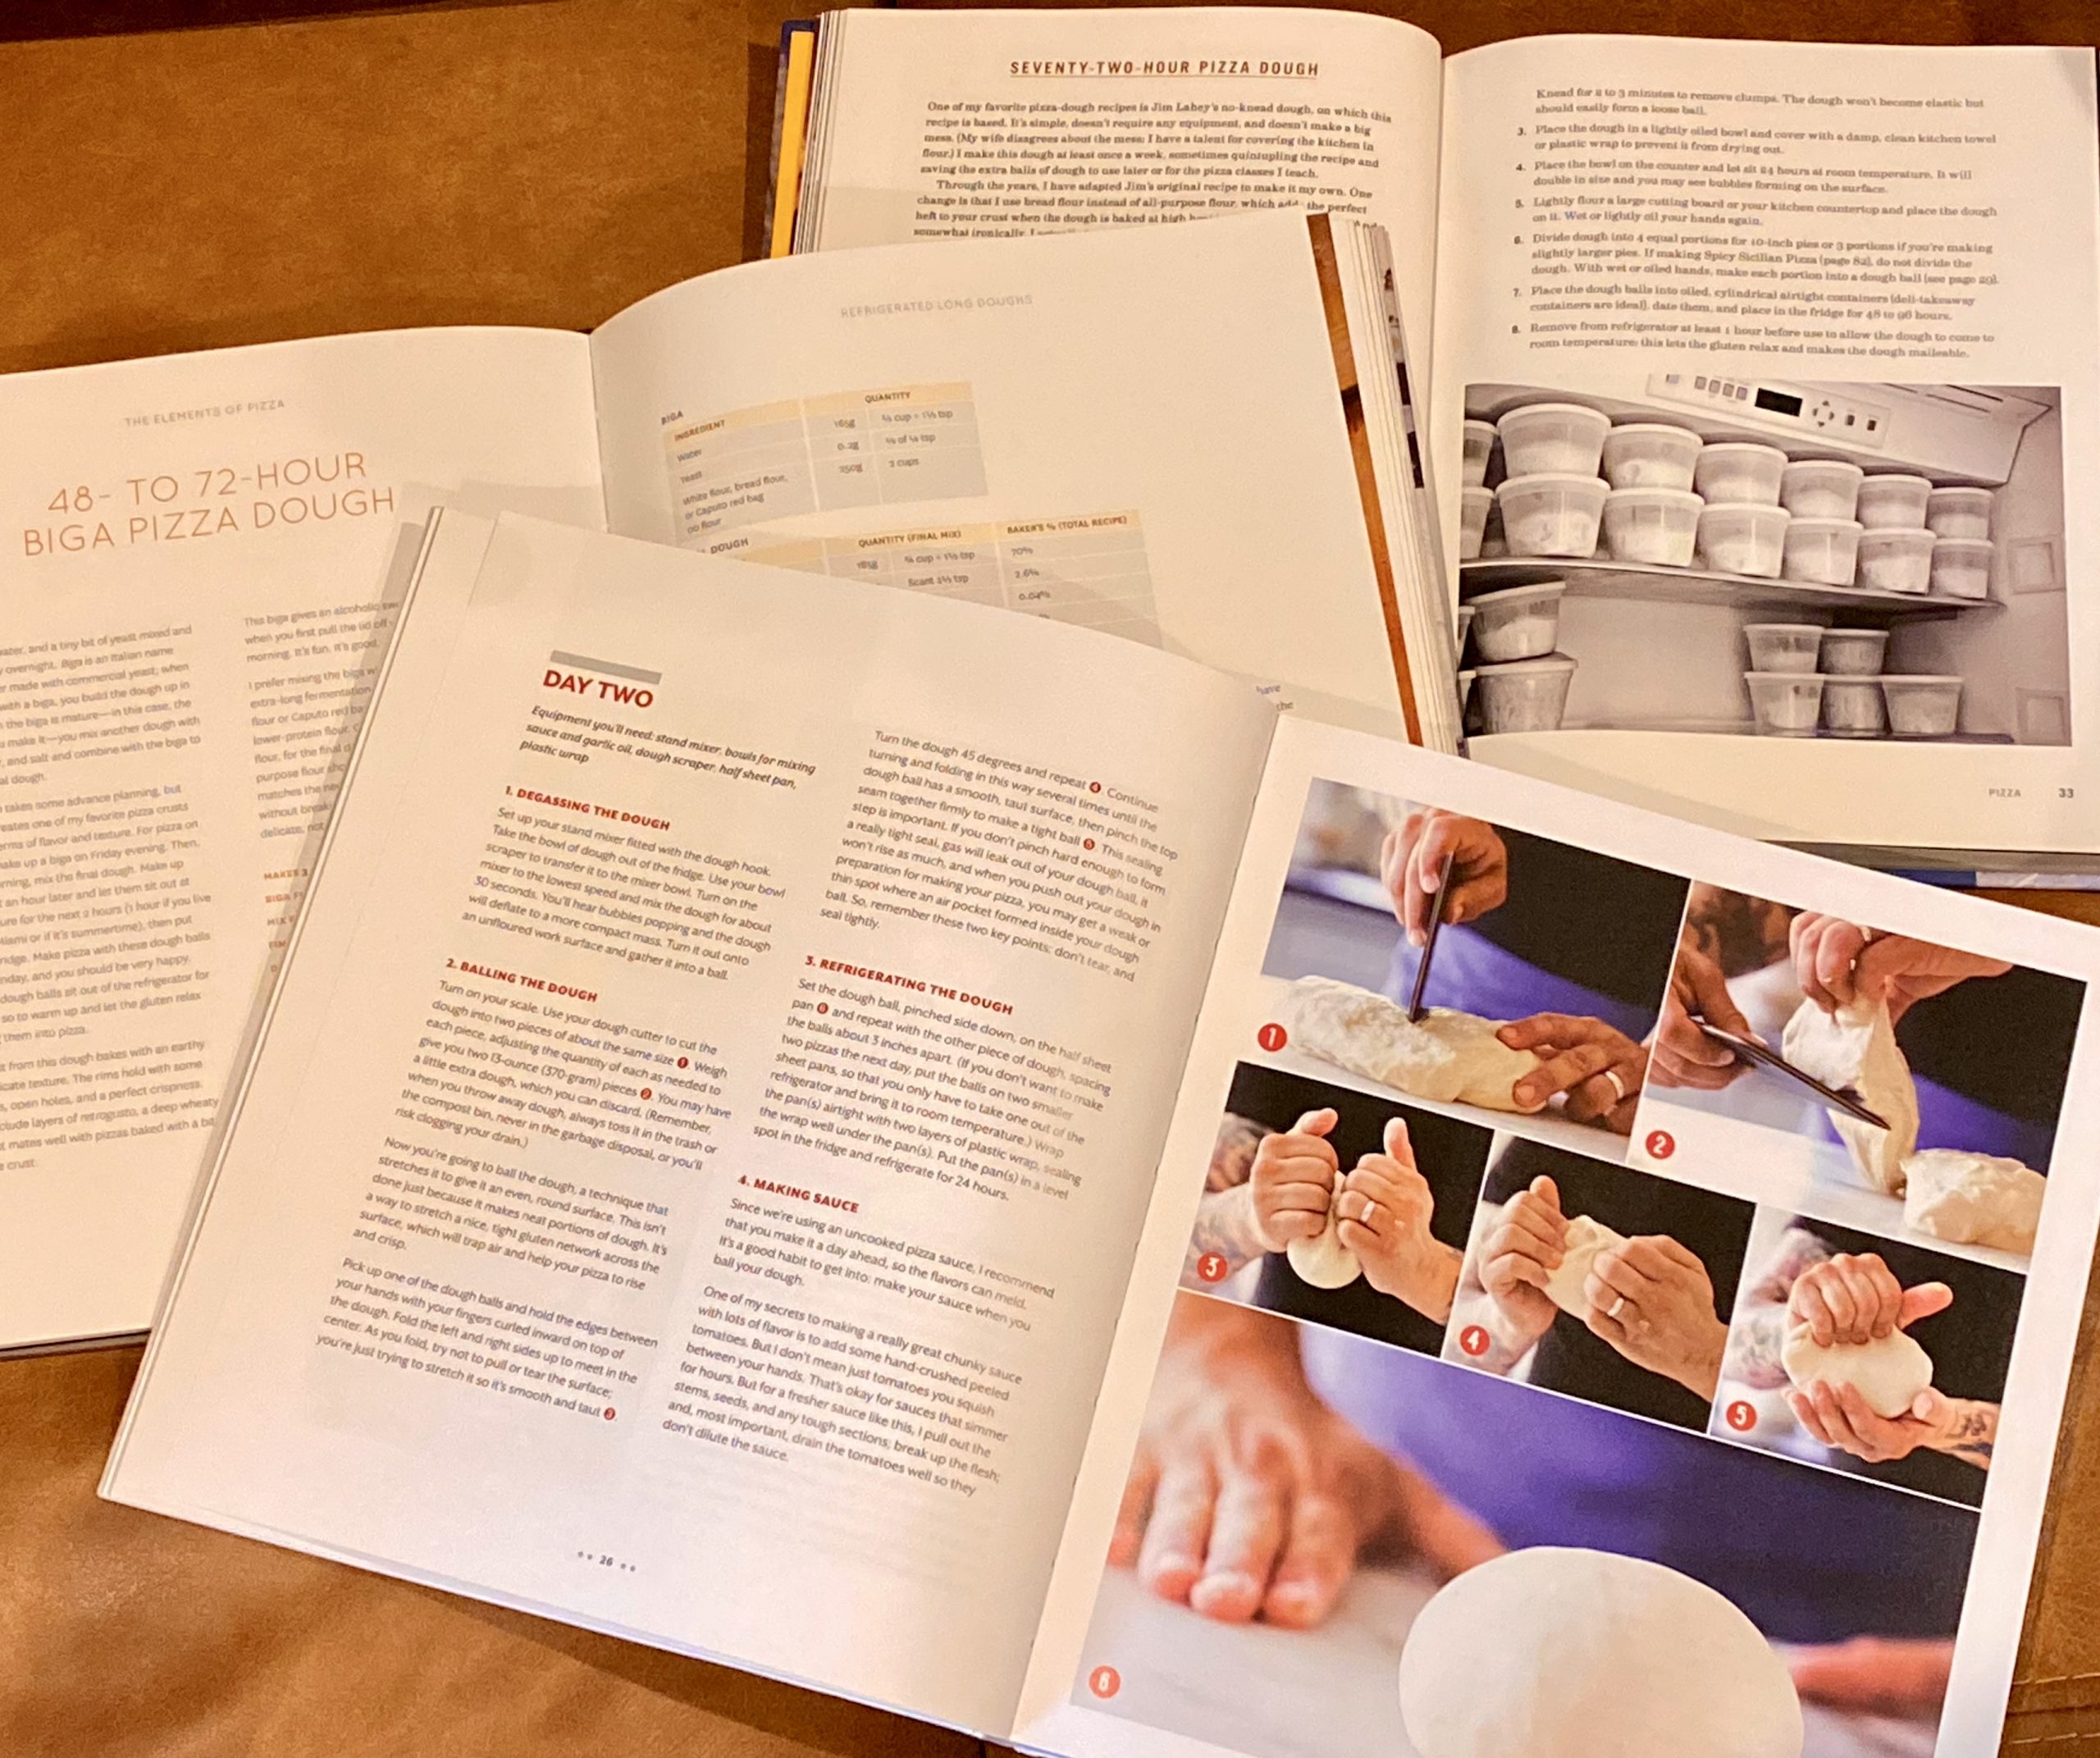
To try to get a head start, these books have given me some great direction in this area and I need to give them a shout out for their contribution to me so far.

As you may have seen from the videos, the recipe below stops short of making pizza and leaves it all at the “dough ball in the freezer” stage. What you can then do with that all depends on what you want (Neapolitan pizza, of course…but also Calzone, Ciabatta bread and other stuff). If I remember, I’ll try to add to this page when I use the dough for another purpose.
Siôn’s 72-hour Neapolitan Pizza dough recipe
Equipment
- Dough tub with lid or large mixing bowl
- Deli pots (16oz) wth lids
- Scales, including a "jeweler"s scale that gets to 0.01g accuracy !
- Thermometer (optional)
- Bench scraper
- Couple of other bowls for mixing
Ingredients
Initial yeast mix
- 1300 ml filtered water room temperature
- 60 g salt
- 200 g Italian OO pizza flour
- 60 ml filtered water room temperature
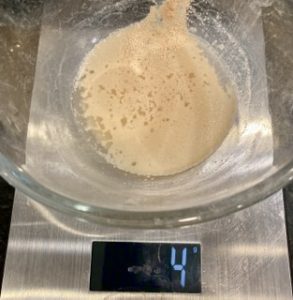
- 0.25 g Instant dried yeast (not kidding !)
Main dough
- 1.8 kg Italian OO pizza flour
To line the individual pots
- Olive oil spray version
Instructions
Day 1. Making the dough.
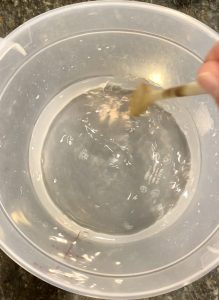
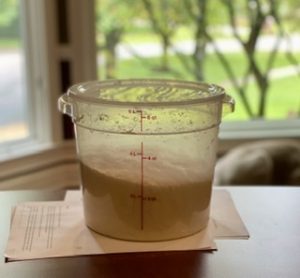
- Take the larger amount of filtered water and put in the empty dough tub.
- Add in the salt and stir until dissolved.
- Take the initial small amount of pizza flour and combine with the water/salt. Stir until all the lumps are gone.
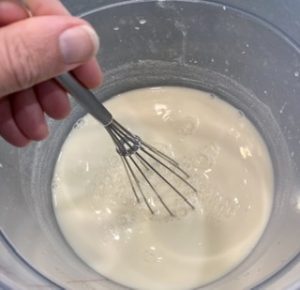
- In a separate small bowl, dissolve the instant yeast in the small amount of water. Let it hydrate for a minute and then mix gently until it's a uniform liquid.
- Combine the yeast/water mixture into the water/salt/flour mix in the dough tub. Stir well. Doing it this way may sound like a hassle, but it prevents the yeast from being too shocked by the salt mixture.
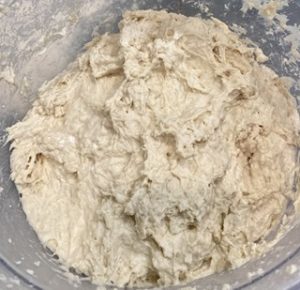
- Gradually add in the larger amount of pizza flour until a dough starts to form. Be patient with this : a little at a time, making sure the dry flour is combined into the dough. It won't feel dough-like until you're about 75% through combining the flour.
- At about ¾ of the way through, get your hand in there and start to combine using one hand. Hygiene first – you should have washed your hands at the start of this process of course. Wash them again before putting them in the dough.
- Use your hand to pull the wet and dry parts of the dough together, scraping the edges of the bowl as you go. The motion is basically a scoop from the bottom/edges and combining into the middle, ultimately to get this as uniform as possible. If you really must then use a wooden spoon or stiff spatula.
- Lightly flour a clean surface of at least 2ft x 2ft in size. Empty out the contents of the dough tub. Get your spatula in there and scrape every last piece of dough off the sides and bottom of the tub. Get any remaining wet or dry parts – you'll be kneading it all into a uniform dough. Do as much as you can to get the dough off your hand too and combine that in.
- You will need to sprinkle extra flour onto the dough mass at this stage, but don't go mad as it'll change the very important hydration (water to flour) ratio for the dough. A little flour here though is both necessary and OK.
- This time your hands wont get so messy. Knead the dough. Your goal is to get it all to the same consistency, kneading just for a couple of minutes or so. I like to use a motion that lightly punches a dent into the middle of the dough then fold the two sides of the dent over each other, bring in the sides and then repeat. Do what you need to do here. Keep sprinkling a little flour if you feel your hands are going to get messy.
- After two or three minutes, pick up the dough and place back into what should be a fairly clean dough tub (you DID scrape all the dough out of there, right ?).
- Before sealing it up, put the thermometer in the centre of the dough. It should read between 23°C and 26°C. That's 73-79°F.
- Cover the dough tub, or put the lid on it. This is about hydration, so you need a good seal here with cling-film (or whatever that's called in the USA). I invested in a dough tub with a lid – that's perfect.
- This needs to sit somewhere at room temperature for 24 hours. I like to keep mine on my desk in my study where its a little warmer and so I can keep an eye on it :-).
Day 2 (24 hours later !). Forming the dough balls.
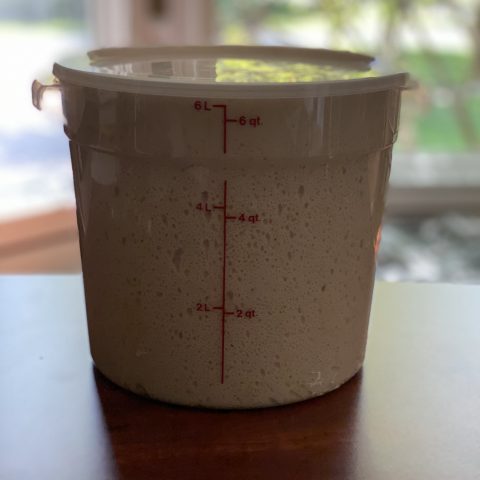
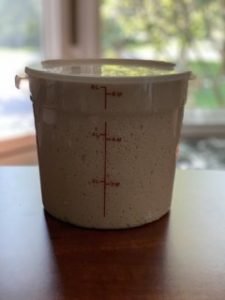
- The following morning the dough will have worked all on its own. It’ll be full of air bubbles and have doubled in size.
- Lightly flour the surface and pour out the risen dough from the tub onto the surface.
- Sprinkle a little flour on top if needed and shape the dough into a large "lump". Don't knead it at this stage.
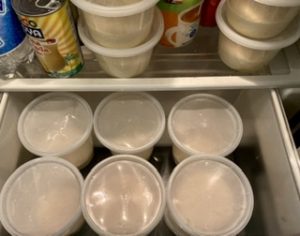
- Take fifteen 16oz deli pots and spray some olive oil into them. Try to get the oil spray spread on the sides.
- Take the bench scraper or a knife and cut off 225g of dough from the dough mass. Add or subtract as necessary, and use the weigh scale. Get as close as you can to 225g in as few pieces as you can (ideally you’ll perfect this so you’re cutting off a 225g piece in one shot !)
- Make a dough ball. This is harder to describe than to show, but it's quite easy to do. It's essentially like a soft knead. Fold one edge over the other. Fold the sides in. Repeat a couple of times until it starts to resemble a ball. Pick it up so that all those seams are pointing upwards – turn it over so that the seams are at the bottom, and pinch/twist and shape into a ball with the "messy bit" at the bottom. The top should be nice and smooth. You may see a bubble or two already starting to form.
- Drop the ball into an oiled deli pot. Put a lid on it.
- Repeat this until you're out of dough and you've filled the pots – one ball per pot ! You should have around fifteen or so. Stack them up.
- Clean up and then do what is probably the hardest part – find some room in the refregerator for the fifteen pots. Put them in and leave them for 48 hours. Don't be tempted to freeze them immediately – the dough needs to second ferment and/or mature or something (or both). Let it do that in the fridge, then freeze after two days.
Day 4 (48-hours later…total of 72 hours). Consume or freeze – or both !
- We now have 72-hour dough in convenient tubs ! Congratulations. These can be used now or (as is most likely)…frozen. Put them in the freezer until needed.
- If using straightaway or in the next 48 hours after that, then just allow to come to room temperature for an hour before turning out and shaping into pizzas.
Much later…
- When removing from the freezer, allow to thaw slowly at room temperature for 2 hours before turning out and shaping into pizzas.


0 comments on “Siôn’s 72-hour pizza dough”Add yours →